Building your own PC can feel intimidating at first, but with the right steps and guidance, it becomes an exciting and rewarding experience. In 2025, assembling a computer is easier than ever thanks to modular hardware, accessible tools, and a wealth of online resources. Whether you’re building a gaming rig, a workstation, or a budget PC, this guide will walk you through the process step by step.
What You Need Before You Start
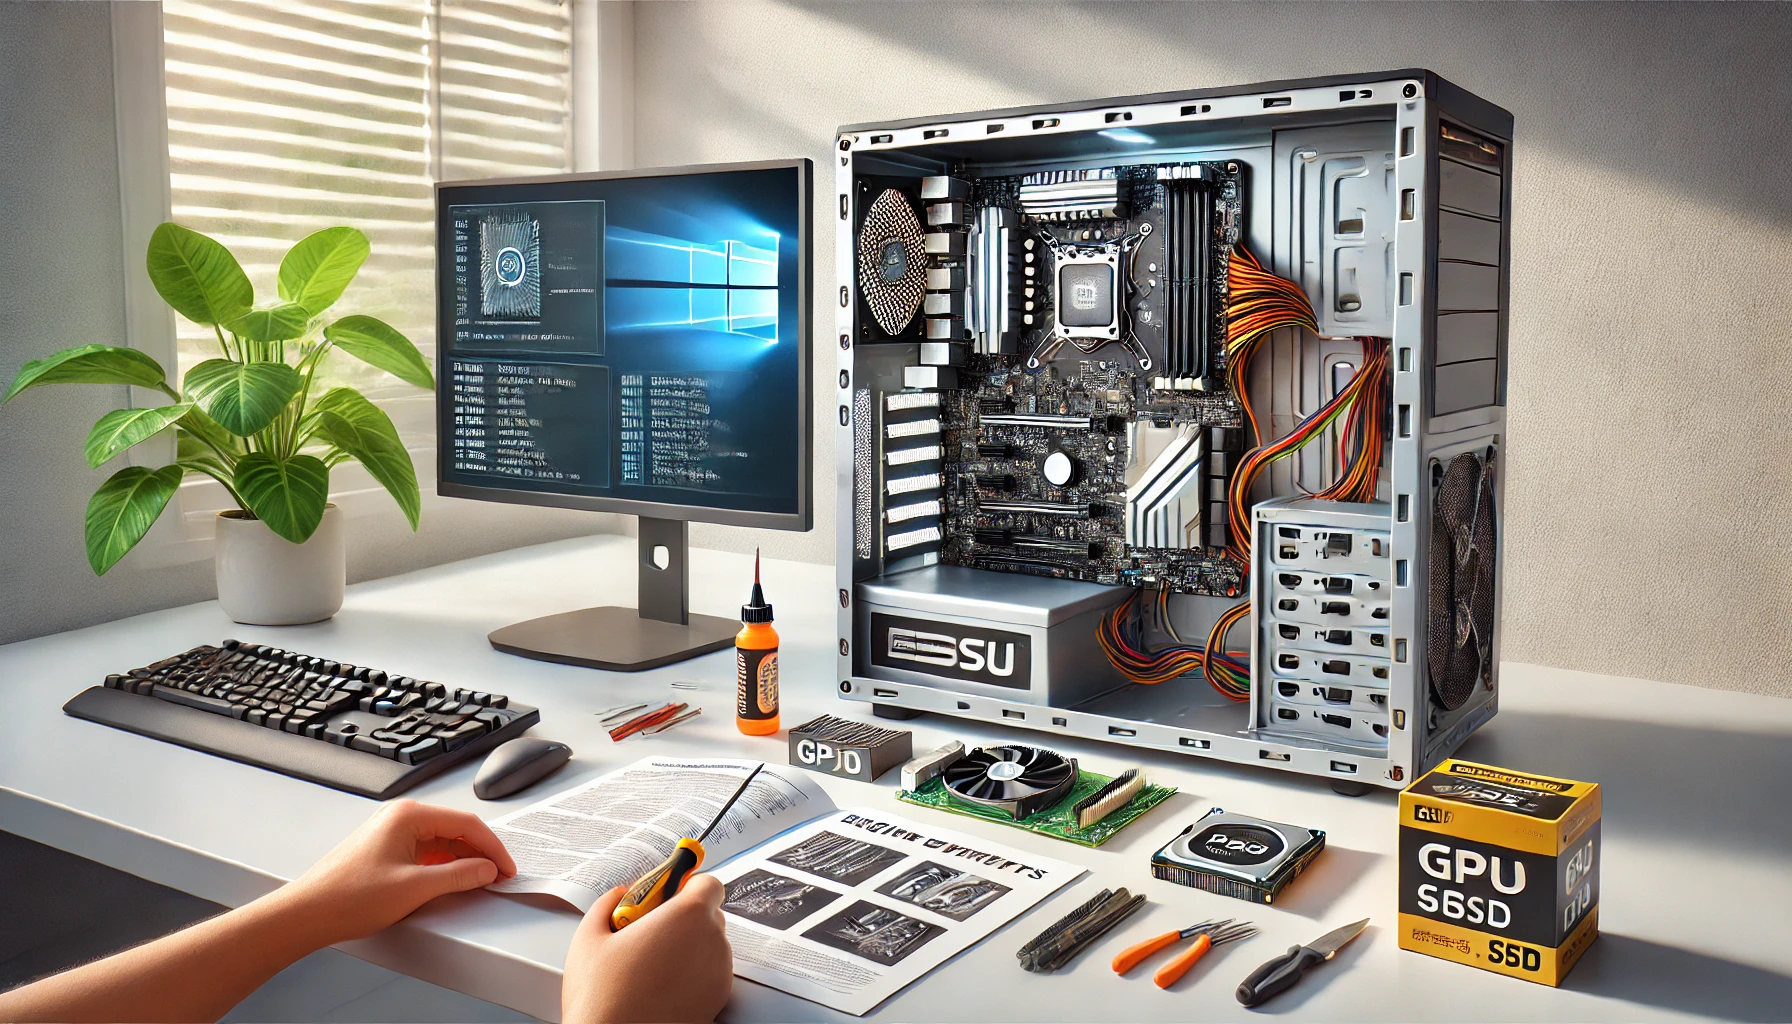
Before you begin the assembly, gather your tools and components. Here’s what you’ll need:
- Phillips-head screwdriver
- Anti-static wrist strap (optional but recommended)
- Clean, well-lit workspace
- Your components: CPU, motherboard, RAM, GPU, storage, PSU, case, and cooling system
- Operating system on a USB drive (like Windows 11 or Linux)
Organize everything before you begin to make the process smoother.
Step 1: Install the CPU
Open the motherboard box and place the board on a non-conductive surface or the box it came in. Lift the CPU socket lever and align the CPU correctly (look for the triangle marker on one corner). Gently place the CPU into the socket and lock it down with the lever. Never force it—it should drop in smoothly.
Step 2: Apply Thermal Paste and Install the CPU Cooler
If your CPU cooler doesn’t come with pre-applied thermal paste, apply a pea-sized dot in the center of the CPU. Then, mount the cooler according to its manual. Secure it firmly but carefully to avoid damaging the CPU socket.
Step 3: Install the RAM
Find the correct RAM slots on the motherboard (refer to the manual for dual-channel configuration). Open the clips on the slots and press the RAM sticks down firmly until they click into place. You should hear a satisfying snap.
Step 4: Install the M.2 SSD (if applicable)
Locate the M.2 slot on your motherboard. Unscrew the mounting screw, insert the M.2 SSD at an angle, then press it down and secure it with the screw. This will be your fastest drive—perfect for your operating system.
Step 5: Mount the Motherboard in the Case
Prepare the case by removing both side panels and locating the motherboard standoffs. Align the motherboard’s holes with the standoffs and secure it using the included screws. Make sure the rear I/O shield is installed first unless it’s pre-attached to the board.
Step 6: Install the Power Supply (PSU)
Insert the PSU into the designated spot in the case, usually at the bottom. Secure it with screws. Route the necessary power cables through the back of the case for better cable management. Modular PSUs make this step easier by letting you attach only the cables you need.
Step 7: Install Storage Drives (SATA SSDs or HDDs)
If you’re using 2.5” or 3.5” drives, mount them into their designated bays and connect them to the motherboard using SATA cables. Then connect SATA power from the PSU.
Step 8: Install the GPU (Graphics Card)
Remove the appropriate PCIe slot covers on the back of the case. Insert the GPU into the top PCIe x16 slot on the motherboard and press down firmly until it clicks. Secure the GPU with screws and connect the PCIe power cables from the PSU.
Step 9: Connect All Cables
Connect the 24-pin motherboard power, 8-pin CPU power, and GPU power cables. Also connect front panel connectors (power button, reset, USB, audio), fan headers, SATA cables, and any RGB headers. Use the motherboard manual to ensure correct pin placement for the front panel.
Step 10: Cable Management
Route the cables neatly through the back of the case. Use zip ties or Velcro straps to secure them. Proper cable management improves airflow and makes your build look professional.
Step 11: Final Check
Before powering on:
- Double-check all connections
- Ensure RAM, GPU, and cables are fully seated
- Make sure no screws are loose
- Verify fans are connected and clear of cables
This is your last chance to fix anything before booting.
Step 12: Boot the System
Plug in the monitor, keyboard, and mouse. Connect the power cable and flip the PSU switch. Press the power button. If everything is connected properly, you should see the BIOS or motherboard logo on screen.
If the system doesn’t turn on:
- Reseat RAM and GPU
- Check power connectors
- Make sure the front panel connections are correct
Step 13: Install the Operating System
Insert your bootable USB with Windows or Linux. Enter BIOS (usually by pressing Delete or F2), set the USB drive as the primary boot device, and save changes.
Follow the on-screen instructions to install the OS. After installation, connect to the internet and update your drivers and operating system.
Step 14: Install Essential Software
Once your OS is installed, download and install:
- GPU drivers (from NVIDIA or AMD)
- Motherboard chipset drivers
- Monitoring tools like HWMonitor or CPU-Z
- Optional apps: Steam, Chrome, Discord, etc.
Your PC is now ready to use!
Final Thoughts
Building your own PC is one of the most satisfying tech projects you can take on. Not only do you save money, but you also gain a deeper understanding of your system. In 2025, with user-friendly components and tons of online help, there’s no better time to build your dream machine. Take your time, follow each step, and enjoy the process.