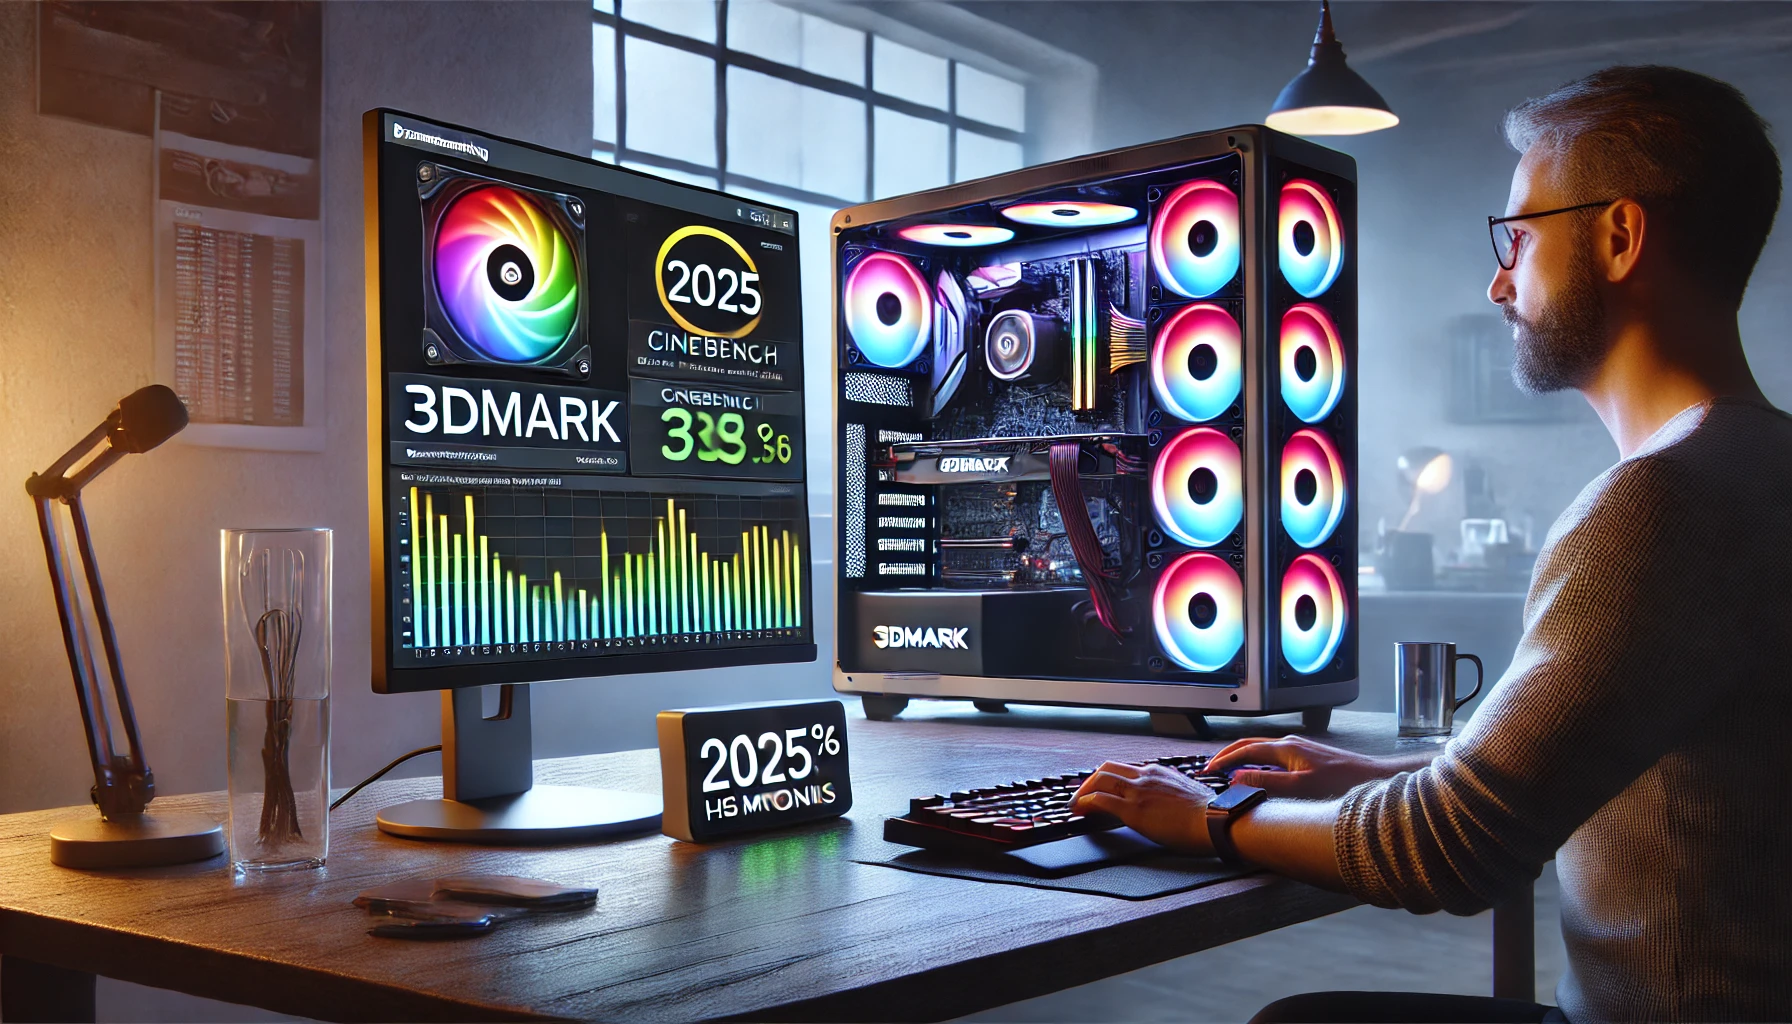
After assembling your PC and installing Windows, it’s important to make sure everything is performing as expected. Benchmarking and stress testing your build is the best way to verify that your hardware is stable, properly configured, and delivering the performance it should.
In this guide, you’ll learn how to benchmark and stress test your PC safely and accurately using free and trusted tools. These steps are especially helpful after a fresh build or when overclocking components.
Why Benchmark Your PC?
Benchmarking and testing your system helps you:
- Verify hardware stability and performance
- Detect issues like overheating, throttling, or faulty components
- Compare your results with similar systems
- Ensure you’re getting the performance you paid for
Testing early helps you catch problems while you’re still within return or warranty periods.
Important Tips Before You Begin
- Make sure all drivers are up to date (especially GPU and chipset drivers)
- Monitor temperatures while testing to avoid overheating
- Run tests one at a time — don’t multitask during benchmarks
- Do not leave stress tests running unattended for long periods
Recommended Tools by Component
1. System Information and Monitoring
Before benchmarking, get a full overview of your hardware.
- CPU-Z – Displays processor, RAM, and motherboard specs
- HWMonitor – Monitors temperatures, voltages, and fan speeds
- Speccy – Gives a full breakdown of your system specs
These tools help you verify that all parts are recognized and working properly.
2. CPU Benchmark and Stress Test
- Cinebench R23 – Popular for testing CPU performance using rendering tasks. Run single-core and multi-core tests.
- Prime95 – Used for CPU stress testing. Run the “Small FFTs” test to max out CPU load (watch temps closely).
Normal CPU temperatures under full load should stay below 85°C, depending on your cooler.
3. GPU Benchmark and Stability Test
- 3DMark (Time Spy, Fire Strike) – Industry-standard GPU benchmark. Compares your results online with similar systems.
- Unigine Heaven / Superposition – Great for real-time GPU stress tests with visuals.
- FurMark – Powerful stress test (use with caution—it’s very intense and can cause overheating).
Monitor GPU temperatures—try to keep them under 85°C.
4. RAM Test
- MemTest86 – The most reliable way to check for RAM errors. Create a bootable USB and run a full pass (can take hours).
- Windows Memory Diagnostic – Built-in tool (less thorough but quicker).
Any errors during testing may indicate a faulty RAM module.
5. Storage Benchmark
- CrystalDiskMark – Tests SSD/HDD read and write speeds. Great for checking if your NVMe or SATA drive is performing as expected.
- AS SSD Benchmark – Another solid option for SSD testing.
Compare your results to the manufacturer’s advertised speeds.
6. Overall System Benchmark
- PCMark 10 – Measures performance across daily tasks like web browsing, video editing, and office work.
- UserBenchmark – Quick all-in-one benchmark (can be inconsistent, but good for a general overview).
These tools provide scores that you can compare to other systems with similar specs.
What to Look for in Benchmark Results
- Consistency: Components should perform close to expected levels. Huge differences may indicate a configuration issue.
- Temperature: High temps under load are normal, but overheating is not. Watch for spikes over 90°C.
- Stability: No crashes, freezing, or blue screens during stress tests.
- No unusual noise: Listen for fans or coil whine that may signal a problem.
If you see poor scores or abnormal behavior, double-check:
- Thermal paste application and cooler mounting
- BIOS settings (e.g., XMP profile for RAM)
- Cable connections and airflow inside the case
Benchmarking Safety Tips
- Don’t run multiple heavy stress tests at the same time
- Monitor your system during testing — don’t walk away for long
- Stop the test immediately if temperatures go too high
- Use stress tests for short periods (15–30 min) unless doing long-term stability checks
You don’t need to push your system to the limit for hours unless you’re troubleshooting or overclocking.
Save and Compare Your Results
Take screenshots or write down your scores. This helps you:
- Track performance over time
- Compare future upgrades
- Share results for troubleshooting
You can upload results to sites like 3DMark, UserBenchmark, or forums like Reddit and PCPartPicker for feedback.
Final Thoughts
Testing and benchmarking your new PC isn’t just for enthusiasts—it’s a smart and responsible part of the building process. It helps you ensure that every component is working, your system is safe under load, and that you’re getting the performance you expected from your investment.
Run the right tests, monitor your temps, and keep your results on file. Now your PC is not just built, but verified and battle-ready.
