Building your own computer in 2025 is more accessible and rewarding than ever. Whether you’re a gamer, a content creator, or someone who simply wants a fast, customized machine, putting together your own PC can save money and help you understand your system better. In this guide, you’ll learn everything you need—from understanding components to step-by-step assembly.
Why Build Your Own PC?
There are several reasons people choose to build their own computers instead of buying pre-built systems:
- Cost-effectiveness: You get better performance for your money.
- Customization: Tailor the hardware to your needs (gaming, editing, work, etc.).
- Learning experience: Understand how a computer works and how to troubleshoot problems.
- Upgradability: Easy to upgrade individual parts later.
Let’s break down the whole process into clear, manageable steps.
Step 1: Choose the Right Components
Your PC is only as good as its parts. Here are the main components you’ll need:
1. CPU (Processor)
The brain of your computer. Choose between Intel and AMD. In 2025, both brands offer excellent options, but:
- Intel: Best for high clock speeds and single-core performance.
- AMD: Often better in multi-core performance and price-to-performance ratio.
2. Motherboard
The main circuit board that connects everything. It must match your CPU socket (e.g., LGA1700 for Intel, AM5 for AMD).
Things to consider:
- Chipset (e.g., B650, Z790)
- Form factor (ATX, Micro-ATX, Mini-ITX)
- RAM and storage compatibility
3. RAM (Memory)
Minimum recommended for modern systems: 16GB DDR4 or DDR5. Gamers and content creators should consider 32GB+.
4. Storage (SSD/HDD)
- SSD (Solid State Drive): Faster, quieter. Go with at least 500GB NVMe for your main drive.
- HDD (Hard Drive): More storage at lower cost, ideal for media files.
5. GPU (Graphics Card)
Essential for gaming and video editing. In 2025, NVIDIA RTX 4000 series and AMD RX 7000 series dominate the market.
6. PSU (Power Supply Unit)
Don’t skimp on this! Choose a reliable brand with 80+ Bronze certification or higher. Wattage depends on your components—usually 550W to 850W is enough.
7. Case (Chassis)
Your PC’s home. Make sure it fits your motherboard form factor and allows good airflow. Consider one with built-in fans and cable management.
8. Cooling System
Stock CPU coolers work for basic use, but for gaming or overclocking, get a better air cooler or a liquid cooling system.
9. Peripherals (Optional)
- Monitor, keyboard, mouse, speakers or headset.
- Operating System (usually Windows 11 or Linux).
Step 2: Prepare for the Build
Before you dive in, gather the necessary tools:
- Anti-static wrist strap (optional but recommended)
- Phillips-head screwdriver
- Zip ties or Velcro straps for cable management
- A clean, static-free workspace
Make sure all your parts have arrived and are compatible with one another. Use tools like PCPartPicker to check for compatibility.
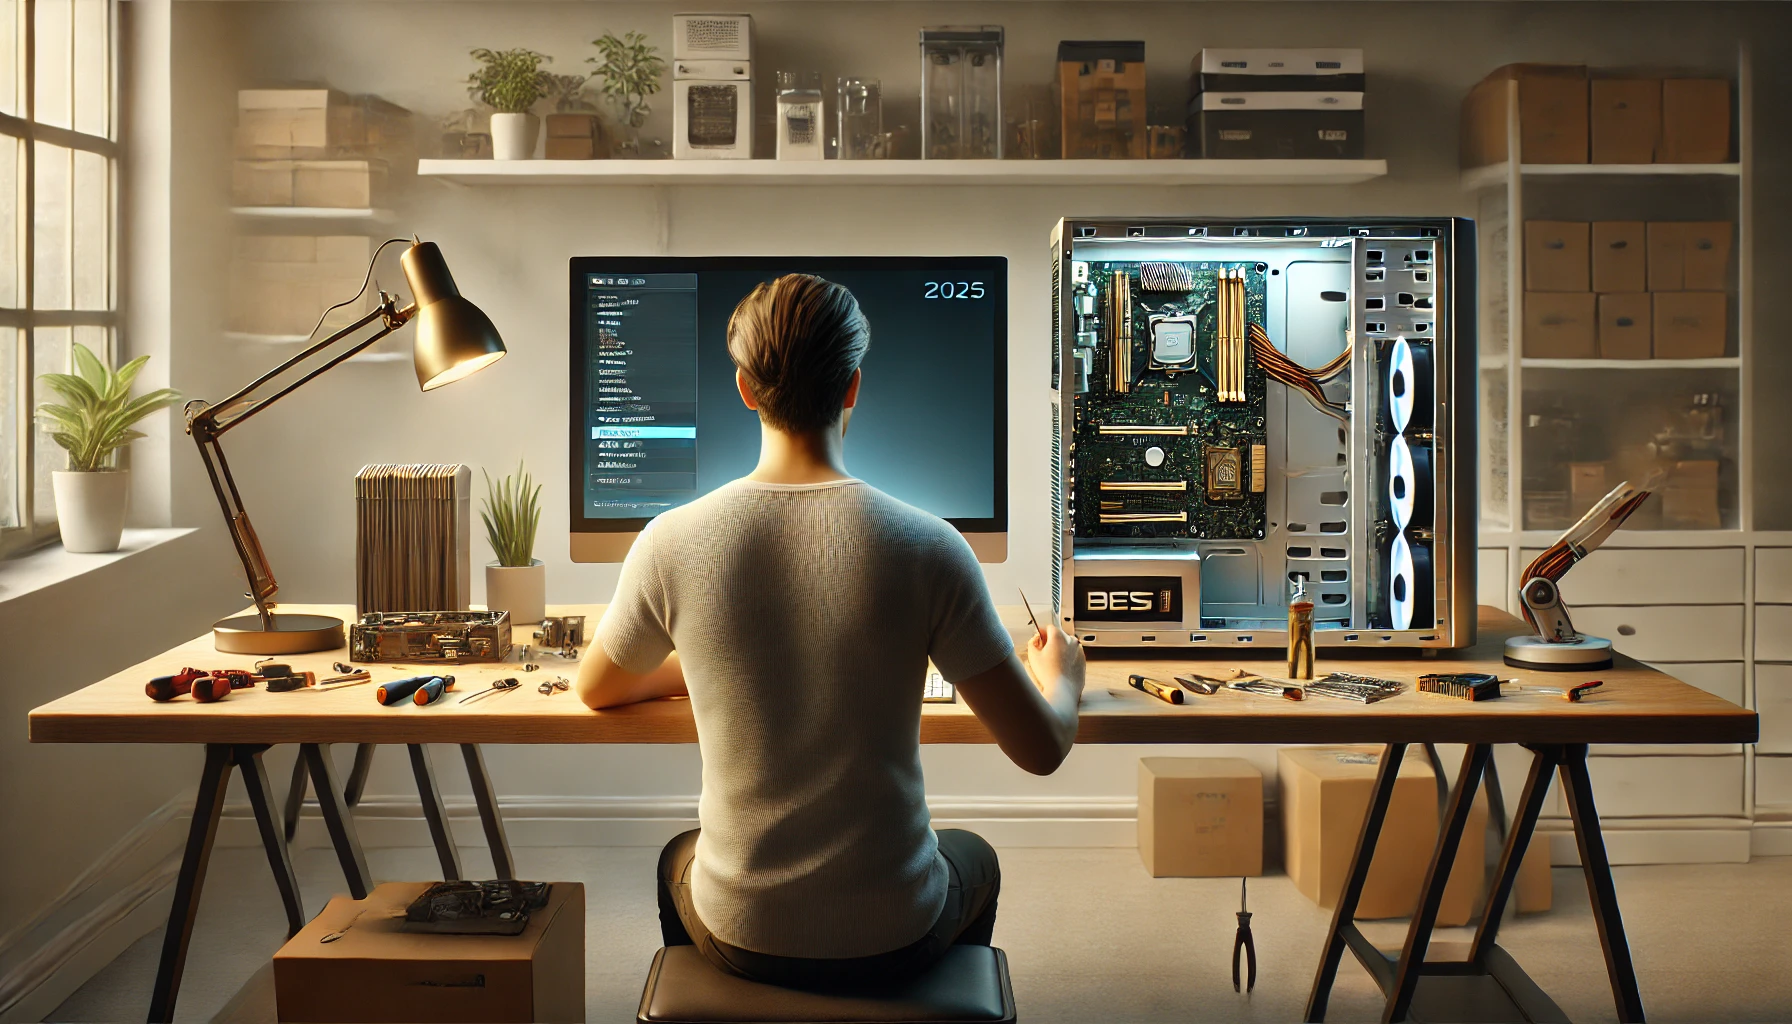
Step 3: Assemble the PC Step by Step
Here’s how to build it, in the correct order:
1. Install the CPU
Open the motherboard socket, align the CPU correctly (look for triangle markers), and gently place it in. Lock the socket into place.
2. Apply Thermal Paste & Install CPU Cooler
If your cooler doesn’t come with pre-applied paste, apply a pea-sized dot. Then attach the cooler firmly.
3. Install RAM
Insert RAM sticks into the correct slots (check your motherboard manual for dual-channel optimization). Push down until they click.
4. Install M.2 SSD (if applicable)
Screw it into the dedicated M.2 slot on the motherboard.
5. Place the Motherboard in the Case
Align with the I/O shield and standoff screws. Secure it using the screws that came with the case.
6. Install the PSU
Mount it at the bottom or top of the case (depending on design). Route cables neatly.
7. Install the GPU
Place it in the top PCIe x16 slot. Secure with screws. Connect PCIe power cables from the PSU.
8. Connect All Cables
- 24-pin motherboard power
- 8-pin CPU power
- SATA/SSD cables
- Front panel connectors (power switch, reset, USB, audio)
- Fan connectors
9. Cable Management
Use zip ties or straps to organize your cables for airflow and aesthetics.
Step 4: First Boot and BIOS Setup
Now it’s time to power it on:
- Connect the monitor, keyboard, and mouse.
- Plug in the power cable and flip the switch on the PSU.
- Hit the power button. If everything’s connected properly, you should see the BIOS screen.
Inside BIOS:
- Check if the CPU, RAM, and storage are recognized.
- Set the boot priority to your USB drive (for OS installation).
- Enable XMP for RAM speed.
Step 5: Install the Operating System
You’ll need a USB drive with Windows 11 or a Linux distribution.
- Boot from the USB.
- Follow on-screen instructions to install the OS.
- Once installed, update drivers and run system updates.
Tips for a Smooth PC Building Experience
- Watch online video tutorials while building.
- Don’t force components—everything should click or fit naturally.
- Keep the motherboard manual handy.
- Keep screws organized in a small container.
- Be patient—it’s totally normal to take a few hours if it’s your first time.
Wrapping It Up: You Built a PC!
Congratulations! 🎉 Building a PC isn’t just about putting parts together—it’s about understanding your system and building something that truly fits your needs. Now you can enjoy faster speeds, better gaming, or more efficient work without paying extra for a pre-built markup.