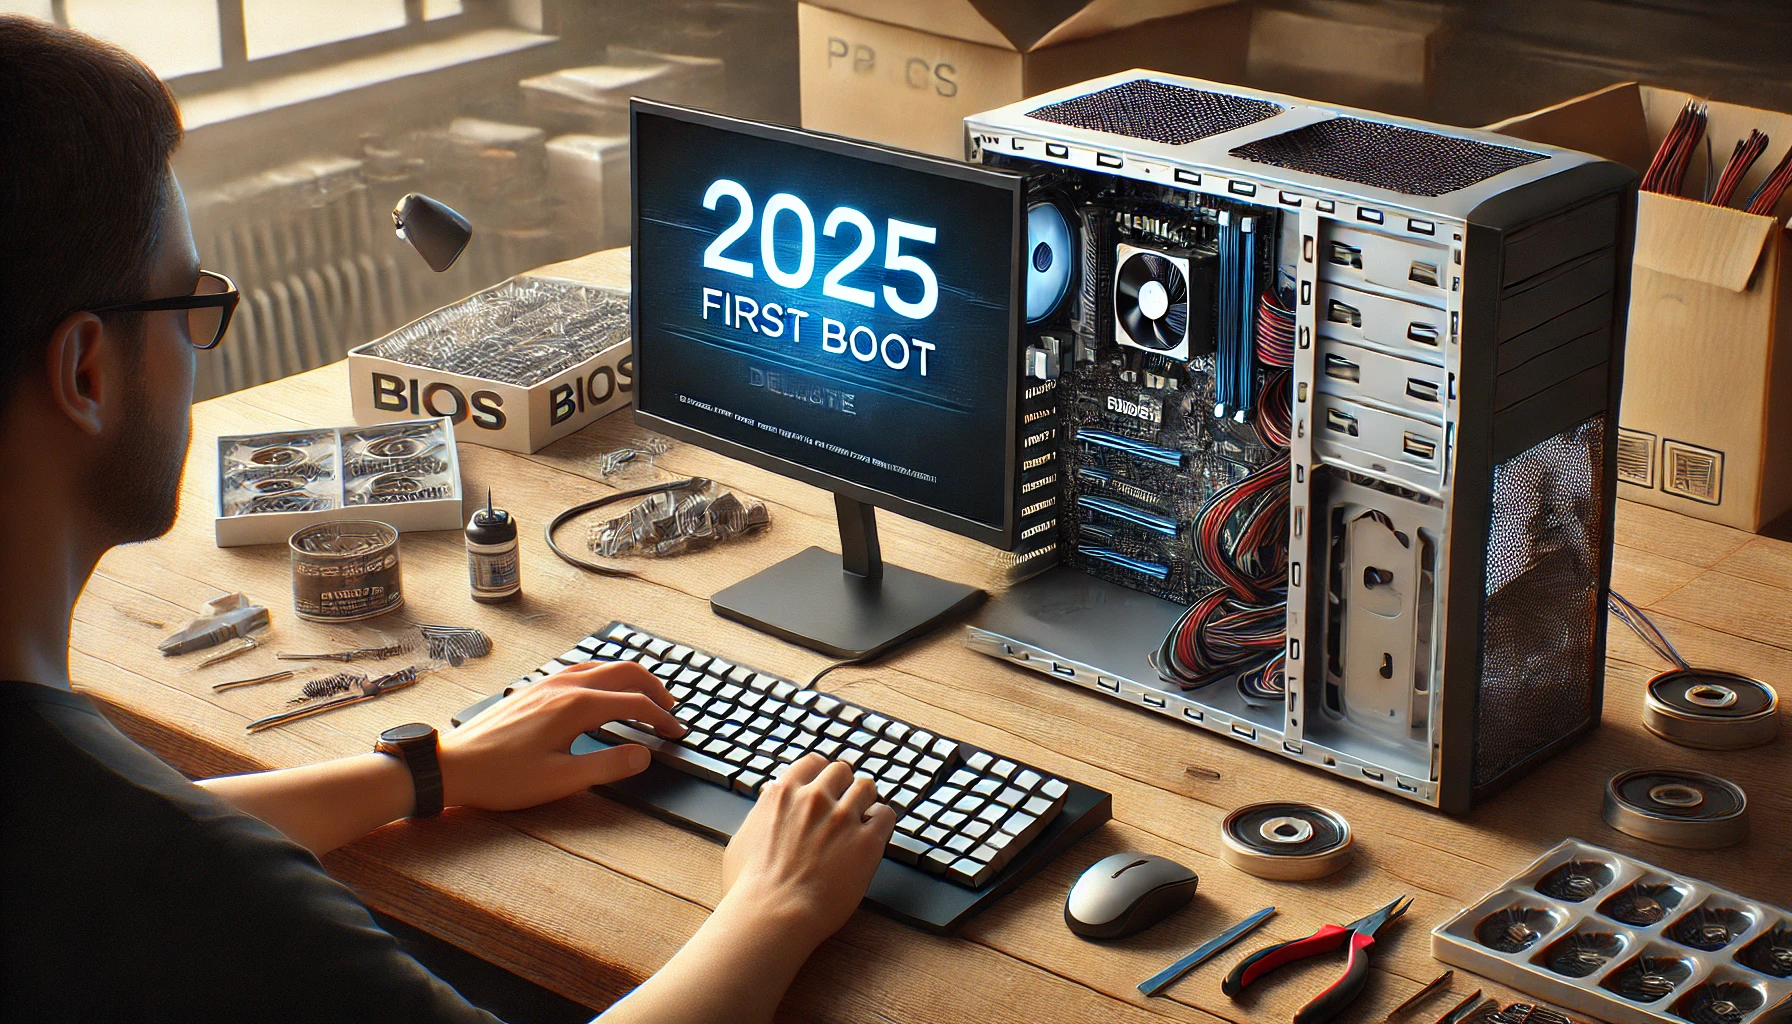
After carefully assembling your PC, the most exciting (and nerve-wracking) moment arrives: powering it on for the first time. This process, known as the first boot, is when you check if your hardware is working, access the BIOS, and begin preparing the system for OS installation.
In this guide, you’ll learn how to confidently perform your PC’s first boot, what to expect, and how to troubleshoot if things don’t go as planned.
What Is “First Boot” and Why It Matters
The first boot is the initial startup of your computer after assembly. During this stage:
- All components are tested for basic functionality
- You access the BIOS to configure key settings
- You verify hardware detection (CPU, RAM, GPU, SSD)
- You prepare the system for installing Windows or another OS
A successful first boot confirms your build was done correctly.
1. Perform a Final Hardware Check
Before turning on your PC, double-check all hardware connections:
✅ 24-pin ATX power cable securely connected to motherboard
✅ 8-pin CPU power connector (near the top of the board)
✅ CPU cooler fan plugged into CPU_FAN header
✅ GPU properly seated and powered (if needed)
✅ RAM fully inserted into the correct slots (check your motherboard manual)
✅ Front panel connectors (power switch, reset, LEDs) are correctly connected
✅ Storage drives (NVMe, SATA SSDs/HDDs) are installed and connected
✅ Case fans plugged into motherboard or fan hub
✅ Monitor is plugged into the GPU (not motherboard) if using a dedicated graphics card
✅ Keyboard and mouse connected
💡 Don’t forget to connect your PC to a reliable power source (PSU switch ON).
2. Power It On
Now comes the moment of truth. Press the power button on the case.
What should happen:
- Fans spin
- RGB lights (if any) turn on
- You hear one short beep (if a speaker is connected)
- The monitor displays the BIOS splash screen or system logo
If you see the BIOS screen, congratulations—your first boot was successful!
3. Enter BIOS (UEFI)
As soon as the PC powers on, press the BIOS key repeatedly:
- Usually Delete (Del) or F2
- Some boards use Esc or F10
You’ll enter the BIOS setup interface, also called UEFI.
4. Check Hardware Detection
Inside the BIOS, verify that all major components are recognized:
- CPU model and clock speed (check CPU tab or system info)
- Installed RAM amount and speed
- All storage drives (under Boot or Storage tab)
- GPU (only if integrated or if motherboard BIOS supports detection)
- Fan speeds and temperatures (under Monitor or Q-Fan section)
💡 If something is missing (like storage or RAM), power off and reseat the component.
5. Enable XMP or EXPO (RAM Profile)
Modern RAM kits run at slower speeds by default.
To use your RAM at its full rated speed:
- Go to the AI Tweaker / Extreme Tweaker / OC tab
- Enable XMP (Intel) or EXPO (AMD)
- Save and exit BIOS (usually F10)
6. Set Boot Priority
To install Windows or another OS, you’ll need to boot from a USB drive.
- Insert your Windows installation USB
- Go to the Boot tab
- Set the USB drive as the first boot device
💡 Don’t forget to save BIOS settings before exiting.
7. Save and Exit BIOS
Press F10 to save and reboot.
If everything is set correctly, your PC should restart and boot into the Windows installer from the USB.
If no bootable device is found, recheck the USB connection and boot order.
8. What If the PC Doesn’t Boot?
If you press the power button and nothing happens:
No power at all?
- Check power cables (to motherboard and wall)
- Make sure the PSU switch is ON
- Try jumping the power switch pins manually to rule out a faulty case button
Fans spin, but no display?
- Ensure the GPU is seated and connected to monitor
- Try using integrated graphics (if available)
- Reseat the RAM sticks
- Reset BIOS (Clear CMOS)
PC powers on, shuts off repeatedly?
- Could be short circuit or bad PSU
- Recheck CPU cooler installation and thermal paste
- Disconnect unnecessary components and try again
💡 Refer to your motherboard’s debug LEDs or Q-code display for error clues.
9. Tips for a Smooth First Boot
- Always build your PC on a non-static surface (no carpets)
- Connect your monitor to the GPU, not the motherboard (if you have one)
- Keep a spare stick of RAM for troubleshooting
- Use the motherboard manual to confirm pin layouts and slots
- Don’t panic if it restarts once—that’s normal after BIOS changes
Final Thoughts
Performing the first boot of your custom PC can be both thrilling and intimidating—but with a careful checklist, it’s usually smooth and satisfying. Once you reach the BIOS, you’re just a few steps away from installing your operating system and enjoying your new build.
Take your time, follow each step, and don’t be afraid to power off and recheck connections if needed.
