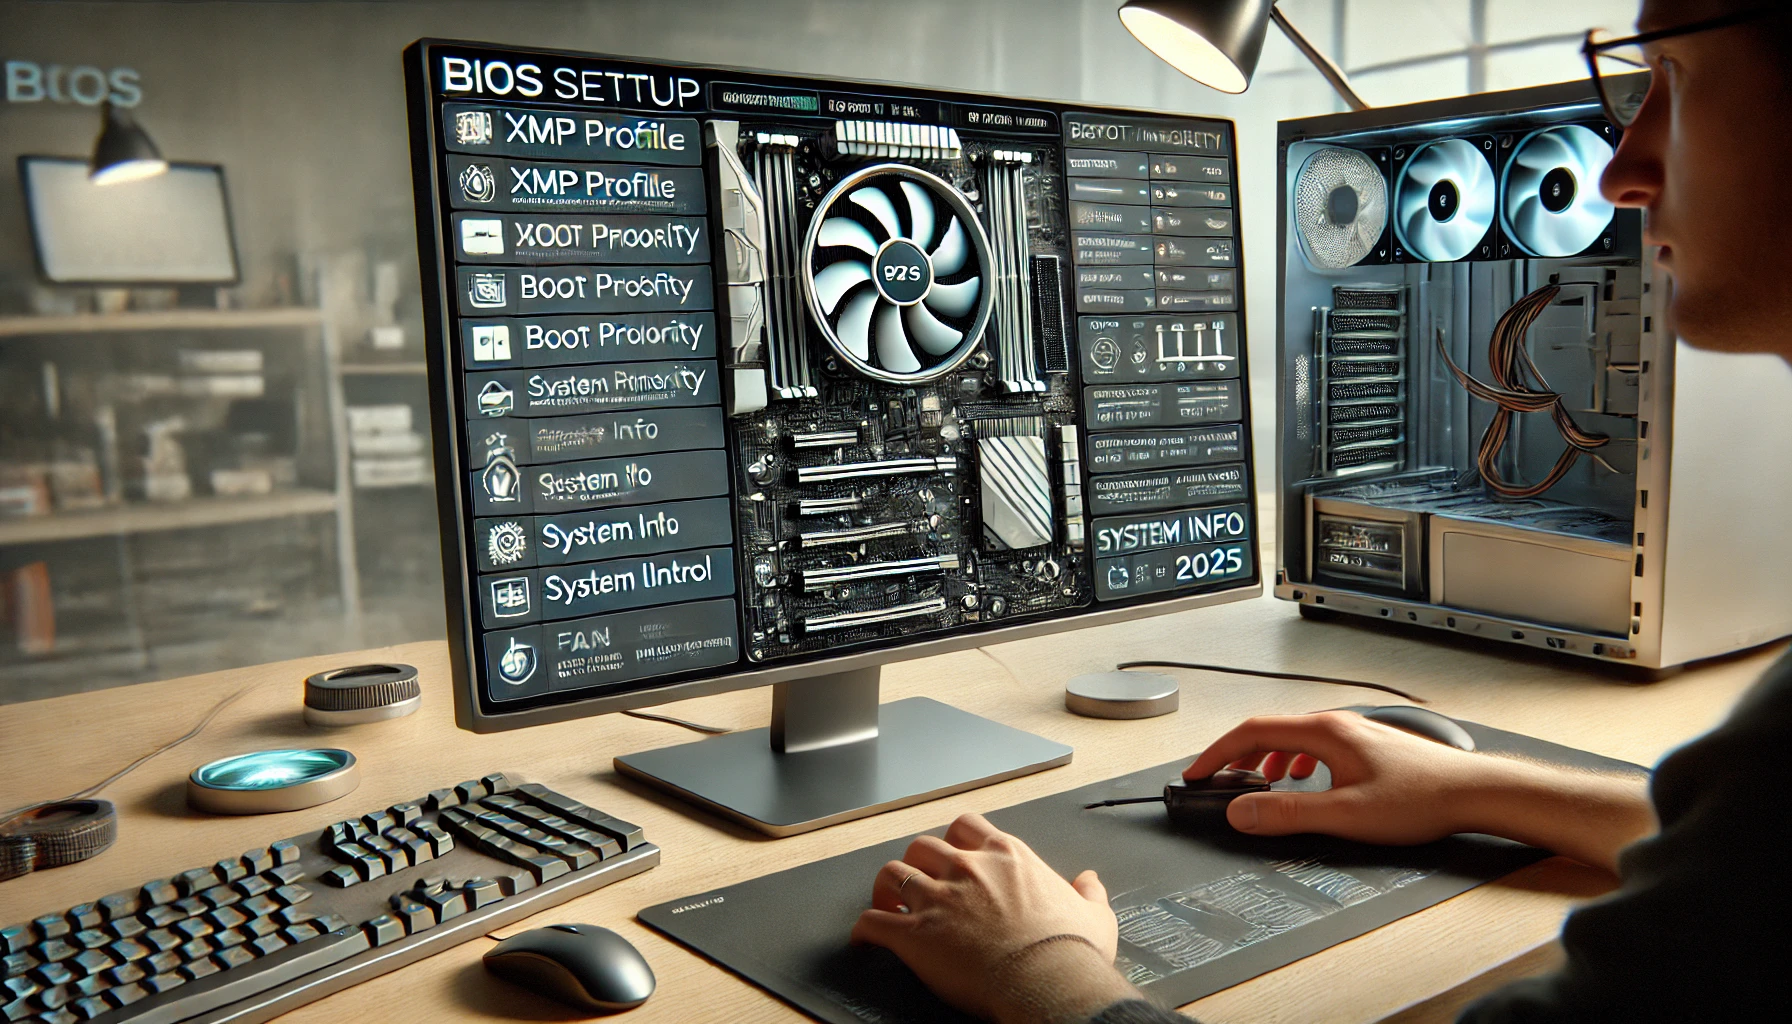
After successfully assembling your PC, the first screen you’ll encounter when you turn it on is the BIOS (Basic Input/Output System) or UEFI interface. This is your computer’s firmware that allows you to configure hardware-level settings before the operating system boots.
Configuring the BIOS properly ensures your PC runs efficiently, recognizes all components, and is ready to install the operating system. In 2025, modern BIOS interfaces are graphical, mouse-friendly, and far easier to navigate than in the past. This guide will walk you through the key BIOS settings to check and adjust after building your PC.
What Is BIOS/UEFI?
BIOS (or UEFI in most modern systems) is the low-level software stored on your motherboard. It:
- Detects and initializes components like CPU, RAM, GPU, and storage
- Allows you to set system parameters like boot order, fan curves, and memory speed
- Provides tools to monitor temperatures and voltages
- Lets you update firmware for stability and compatibility
How to Enter BIOS
To enter BIOS/UEFI:
- Power on your PC.
- As soon as the system starts, press the appropriate key (usually Delete, F2, or Esc) repeatedly.
- You’ll be taken to the BIOS interface.
Check your motherboard manual or manufacturer’s website for the exact key.
Step-by-Step BIOS Setup
1. Enable XMP (or DOCP/EXPO for AMD)
This setting allows your RAM to run at its advertised speed instead of the default (often slower) base frequency.
- Look for XMP Profile (Intel), DOCP (older AMD), or EXPO (modern AMD)
- Enable Profile 1 or the listed memory profile
- Save and exit
This can boost system performance significantly, especially in gaming or multitasking.
2. Set Boot Priority
Make sure your PC boots from the correct device—usually your USB stick with the operating system installer.
- Go to Boot Menu or Boot Order
- Set the USB drive (or SSD if OS is already installed) as the first boot option
- You can reorder with arrow keys or drag-and-drop (varies by BIOS)
3. Check Component Detection
Confirm that the BIOS recognizes all installed hardware:
- CPU model and frequency
- Installed RAM amount and speed
- Connected drives (SSD/HDD)
- GPU if dedicated
If something is missing, power off and reseat the component before troubleshooting further.
4. Set Date and Time
Your BIOS controls the system clock. Make sure the time and date are correct to avoid issues during OS installation or software updates.
Navigate to the System or Main tab and adjust manually if needed.
5. Enable Secure Boot (Optional)
Some operating systems like Windows 11 require Secure Boot to be enabled for installation.
- Navigate to the Boot or Security tab
- Enable Secure Boot
- If the OS won’t boot afterward, you can disable this temporarily
This feature improves protection against boot-level malware.
6. Enable TPM (Trusted Platform Module)
To install Windows 11, your system must have TPM 2.0 enabled.
- Look under Advanced Settings or Security
- Enable TPM or fTPM (firmware TPM)
- Save and reboot
This feature is usually on by default on modern motherboards.
7. Adjust Fan Settings (Optional)
Many BIOS interfaces offer a Fan Control or Q-Fan Utility.
- You can manually set fan speeds based on temperature curves
- Choose between Silent, Standard, Turbo, or Manual modes
- Helps reduce noise or boost cooling performance
Advanced users can fine-tune each fan’s RPM based on CPU or motherboard temperature sensors.
8. Update BIOS Firmware (Recommended)
Updating your BIOS ensures compatibility with newer CPUs, RAM, and storage devices.
- Download the latest BIOS file from your motherboard’s website
- Save it to a USB drive
- Enter EZ Flash / Q-Flash / M-Flash (depends on brand)
- Follow on-screen instructions to flash the BIOS
Never turn off your PC during a BIOS update.
Saving and Exiting BIOS
Once you’ve made your changes:
- Press F10 or navigate to the Exit tab
- Choose Save Changes and Exit
- Your system will reboot with the new settings
If anything goes wrong, you can always reset BIOS to default settings from the Exit menu.
Troubleshooting BIOS Issues
- PC won’t boot after enabling XMP? Try a different memory profile or reset BIOS.
- Storage not detected? Recheck data and power cables.
- No display output? Make sure GPU is seated and monitor is connected to the correct port.
If all else fails, remove the CMOS battery for a few minutes to reset BIOS settings.
Final Thoughts
Setting up your BIOS properly is a small but essential step in getting your new PC up and running. From enabling memory profiles to configuring your boot drive and updating firmware, a few simple tweaks can greatly improve performance, compatibility, and stability.
Take your time, explore your BIOS interface, and don’t be afraid to make adjustments—you can always reset if needed.