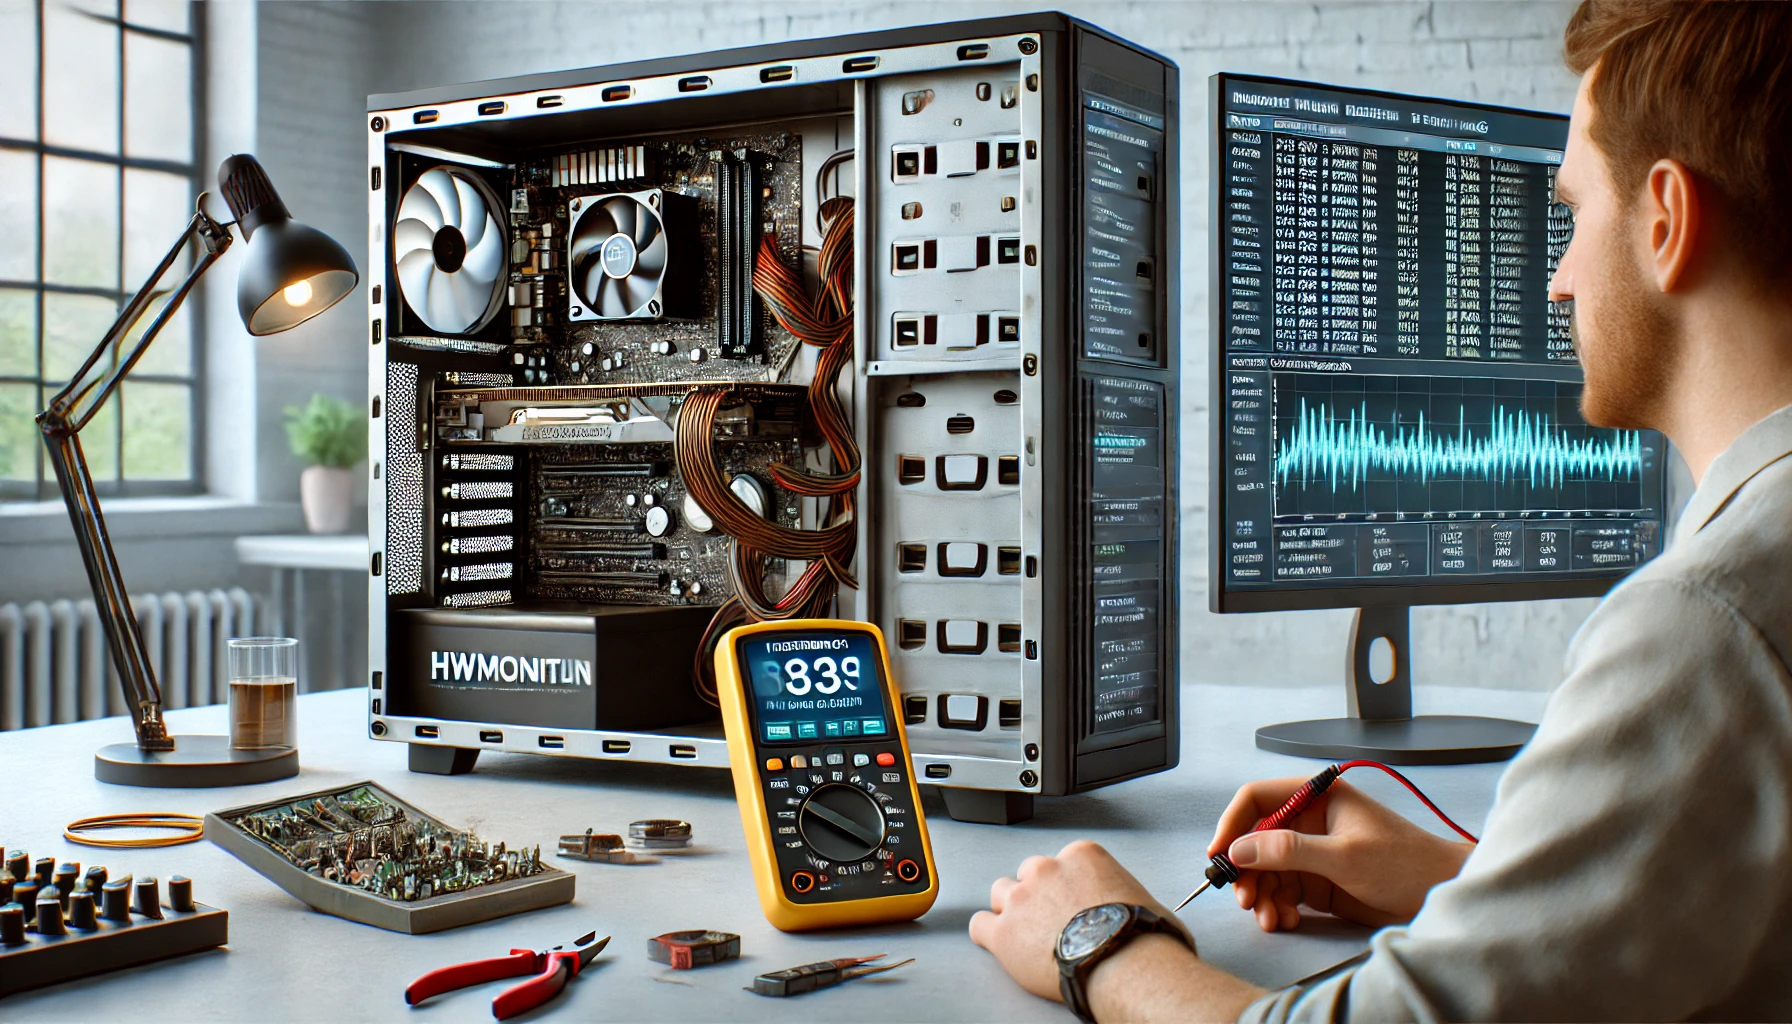
You’ve assembled your new PC—every cable connected, every component secured—but how do you know everything is working as it should? Testing your components after a fresh build is essential to ensure stability, performance, and peace of mind.
In this guide, you’ll learn how to test every key PC component step by step, using free tools and proven methods to verify your build is functioning correctly and safely.
Why Post-Build Testing Matters
A successful first boot doesn’t guarantee that your PC is problem-free. Components can:
- Be defective out of the box
- Overheat due to installation issues
- Fail under load, even if idle temps seem fine
- Have incompatibility problems or driver conflicts
By running post-build tests, you’ll catch early warning signs and fix problems before they cause bigger issues.
Step 1: Confirm a Successful First Boot
When you power on the system for the first time:
✅ Fans spin
✅ Motherboard LEDs activate
✅ Display shows BIOS or splash screen
✅ No unusual beeps or smells
💡 If your PC doesn’t power on or display anything, recheck your power cables, RAM seating, and GPU installation first.
Step 2: Check BIOS Hardware Detection
Enter the BIOS (press DEL or F2) and check:
- CPU model and clock speed
- RAM amount, speed, and channel mode (dual/single)
- Storage devices (NVMe, SATA, external)
- Fan speeds and CPU temperature
💡 Enable XMP/EXPO for your RAM to run at its rated speed.
Step 3: Boot into Windows and Prepare for Testing
Install Windows (or your preferred OS), install drivers from your motherboard and GPU manufacturers, and download the following essential testing tools:
- HWMonitor / HWiNFO64 – for temperature and voltage monitoring
- CPU-Z – for CPU/RAM verification
- MemTest86 – for RAM testing
- CrystalDiskInfo – for SSD/HDD health
- Cinebench R23 – CPU stress test
- Unigine Heaven or 3DMark – GPU stability test
- OCCT or AIDA64 – full system stress testing
💡 Keep an eye on temperatures, clock speeds, and usage percentages during every test.
Step 4: Test the CPU
Your CPU should be able to handle intense workloads without crashing or overheating.
Use:
- Cinebench R23 (Multi-core and Single-core tests)
- OCCT CPU Test (30+ minutes)
Monitor:
- CPU temperature (stay below 90°C)
- Clock speed consistency
- System stability (no freezing or BSOD)
💡 If the CPU hits 100°C or throttles quickly, check your cooler installation and thermal paste application.
Step 5: Test the RAM (Memory)
Faulty RAM can cause random crashes, blue screens, or file corruption. Always test it.
Use:
- MemTest86 (bootable USB tool)
- Windows Memory Diagnostic (less thorough, but built-in)
What to look for:
- No errors after 2–4 full passes
- Proper detection of speed and capacity
- Stability during multitasking or gaming
💡 If errors appear, test one stick at a time to identify the faulty module.
Step 6: Test the GPU
Modern GPUs are powerful—and expensive. Make sure yours works under load.
Use:
- Unigine Heaven / Superposition Benchmark
- 3DMark Time Spy / Fire Strike
- Optional: Play a demanding game (e.g., Cyberpunk 2077) at high settings
Watch for:
- Visual artifacts (flickering, tearing)
- Driver crashes or screen blackouts
- Fan noise or overheating
💡 Use MSI Afterburner or HWiNFO to monitor temps—keep below 85°C during gaming.
Step 7: Test Your Storage Drives
Use:
- CrystalDiskInfo – for SSD/HDD health
- CrystalDiskMark – for read/write speed testing
Check:
- Drive health status (“Good” or “Warning”)
- Power-on hours (should be near zero on new drives)
- Sequential and random read/write performance
💡 Slow speeds on NVMe drives may indicate a thermal issue or incorrect BIOS settings.
Step 8: Test the PSU (Power Supply)
A bad PSU may cause:
- Random shutdowns
- Inconsistent booting
- Coil whine or buzzing
Use:
- OCCT Power Test
- Multimeter (for advanced users to test voltage rails)
Check:
- Stability during load (no reboots or BSODs)
- Voltage consistency (within ±5% of rated values)
- No unusual smells or heat
💡 Never use cheap, unbranded PSUs—they often fail under pressure.
Step 9: Full System Stress Test
Once individual components are verified, run a full-system load test.
Use:
- OCCT or AIDA64 Stability Test
- Duration: 30–60 minutes
Monitor:
- Overall system temperatures
- Power consumption
- Crashes or errors
- Noise and cooling performance
💡 Only stress test once everything else passes—don’t risk damaging parts still under review.
Step 10: Test Ports and Peripherals
Make sure all I/O and internal headers work:
✅ USB ports (front and rear)
✅ Audio jacks (headphone and mic)
✅ Ethernet / Wi-Fi connection
✅ Monitor outputs (HDMI, DisplayPort)
✅ Case fans and RGB lighting
✅ Storage devices and hot-swap bays
💡 Use external devices to test each port, and check fan speeds in BIOS or software like FanControl.
Bonus: BIOS and Firmware Updates
After successful testing, it’s smart to:
- Update your BIOS/UEFI to the latest stable version
- Update SSD firmware (from manufacturer site)
- Enable Resizable BAR, Secure Boot, or other features if supported
💡 Always follow the update instructions carefully to avoid bricking your board or drive.
How Often Should You Re-Test?
- After major hardware upgrades (new GPU, RAM, CPU, etc.)
- If your system becomes unstable or crashes under load
- Before the return period expires (usually 14–30 days)
- Before overclocking
💡 Re-testing ensures that new or used components are stable and safe over time.
Final Thoughts
Testing your PC components after a fresh build is a critical step that many skip—but it can save you from future frustration, crashes, or hardware failures. With the right tools and a methodical approach, you’ll be able to confirm that every part of your system is healthy, stable, and ready to perform.
Take your time, monitor everything carefully, and enjoy the confidence of a rock-solid PC.
